Anyone can pick up a smartphone and take a photograph, but it takes a skilled photographer to create a great image. Back in the day, taking out good photographs was a labour-intensive process. A fancy camera and expensive editing software was needed to kick off the development. And, some serious time and energy was invested into learning how to use them.
But now, the same device that we use to make calls can be used to capture some amazing photographs. All thanks to the camera quality and the editing apps that comes with them.
However, taking a good photograph on your smartphone is not as simple as it seems. There are plenty of bad smartphone photographs circulating the web. Then, what is the secret to turning that around? Have a look at these 10 tips and tricks below to improve your smartphone photography game.
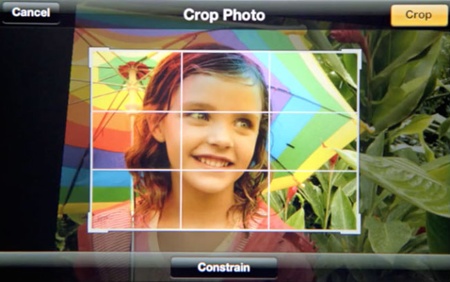
1.USE GRIDLINES
The rule of thirds is one of the most useful composition techniques in photography. An image should be broken down into thirds, both horizontally and vertically, with a total of nine parts. Your subject should be in line with one of the vertical lines. And, if there is a horizon, it should be in line with one of the horizontal lines. The theory behind the rule of thirds is that the off-centre composition makes it look more balanced and natural.

2.PLAY AROUND WITH COLOUR BLOCKING
This helps to highlight the elements of a photo that you want to stand out. The entire photo will be black and white except for a single object. All the elements remain intact for a cohesive image.

3.AVOID ZOOMING IN
Since smartphones use digital zoom instead of optical zoom, it results in the image being cropped. This causes a noticeable loss in image quality. Walk closer to your subject and use the camera as normal – you’ll end up with a better shot. Or, you can crop the photo afterwards. This gives you more control over how much of the image you want to remove.
4.SET THE FOCUS
Ensure your subject is in sharp focus. Professional photographers advise that the subject should not fill the entire frame, and that two thirds of the image should be negative space.

5.USE A TRIPOD
To avoid blurry photos, you should hold the phone with both hands or set it on a solid surface to keep it steady. You could also use a tripod made specifically for smartphones. When using a tripod, set the timer to three seconds. So, when the photo is taken you won’t be touching the phone at all which means the camera will be perfectly still when you take the shot.

6.PAY ATTENTION TO LEADING LINES
Using leading lines in a photo can help focus the viewer’s eye on the main subject and lead the eye deeper into the image. It is a simple technique that involves using any types of lines to focus attention on the subject.

7.LOOK FOR SYMMETRY
Symmetry is a vague sense of proportion and balance. It is one of the simplest and most compelling ways to compose a photo. In photography, symmetry is a bit different than reflections. It is all about creating an image that can be divided into two equal parts that are mirror images of each other.

8.USE NATURAL LIGHT
A smartphone’s camera flash can sometime make a photo look over-exposed, negatively altering colours and make human subjects look washed out. So, take advantage of natural light to play around with shadows.

9.ATTACH AN EXTERNAL LENS
There are several external lenses that can be attached to the top of your smartphone camera lens. These lenses bring an entirely new quality and perspective to your photographs. One of the best lenses is made by Moment, a manufacturer of mobile lenses.

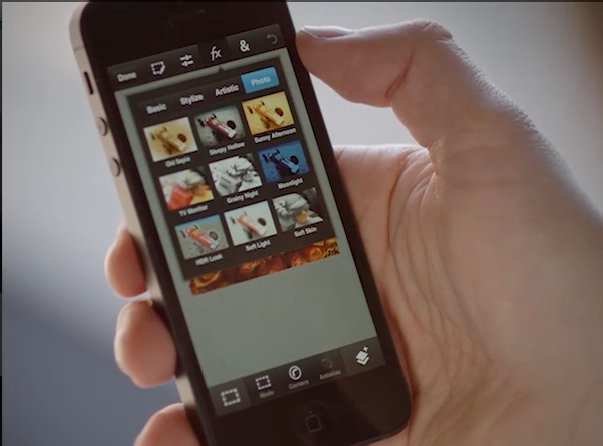
10.DON’T OVER EDIT
Resist the urge to use too many apps or strong effects when editing your photos. Only apply effects that will enhance the beauty of the photo. Watch out for the appearance of grainy and overly saturated colours when you’re adjusting exposure and colour settings.
These tips should help you on your way to taking much better photos with your smartphone. The most important thing to remember is to keep taking photos and have fun!